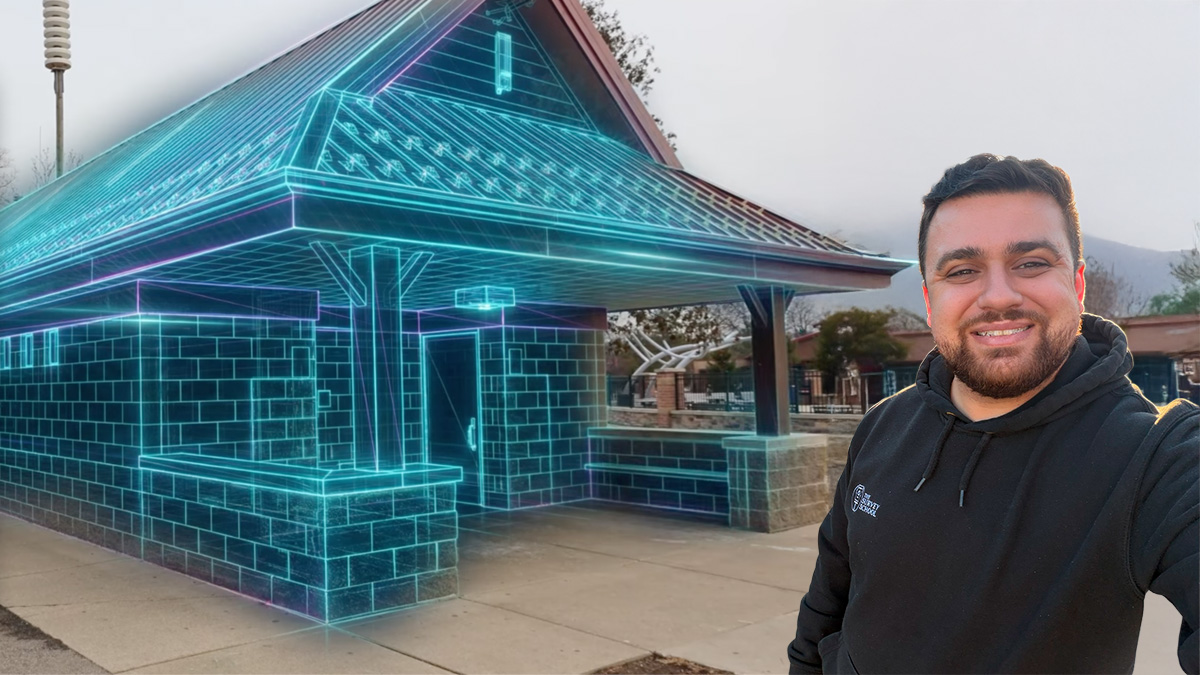
Accelerate GCP workflow with Tag Detection in PIX4Dcatch
In the world of photogrammetry and 3D mapping, efficiency and accuracy are paramount. Recognizing this, Pix4D has made a groundbreaking advancement with the introduction of the Tag Detection feature in PIX4Dcatch. Our goal was clear: to streamline the workflow with Ground Control Points (GCPs) and elevate the entire scanning process to new heights of precision and ease.
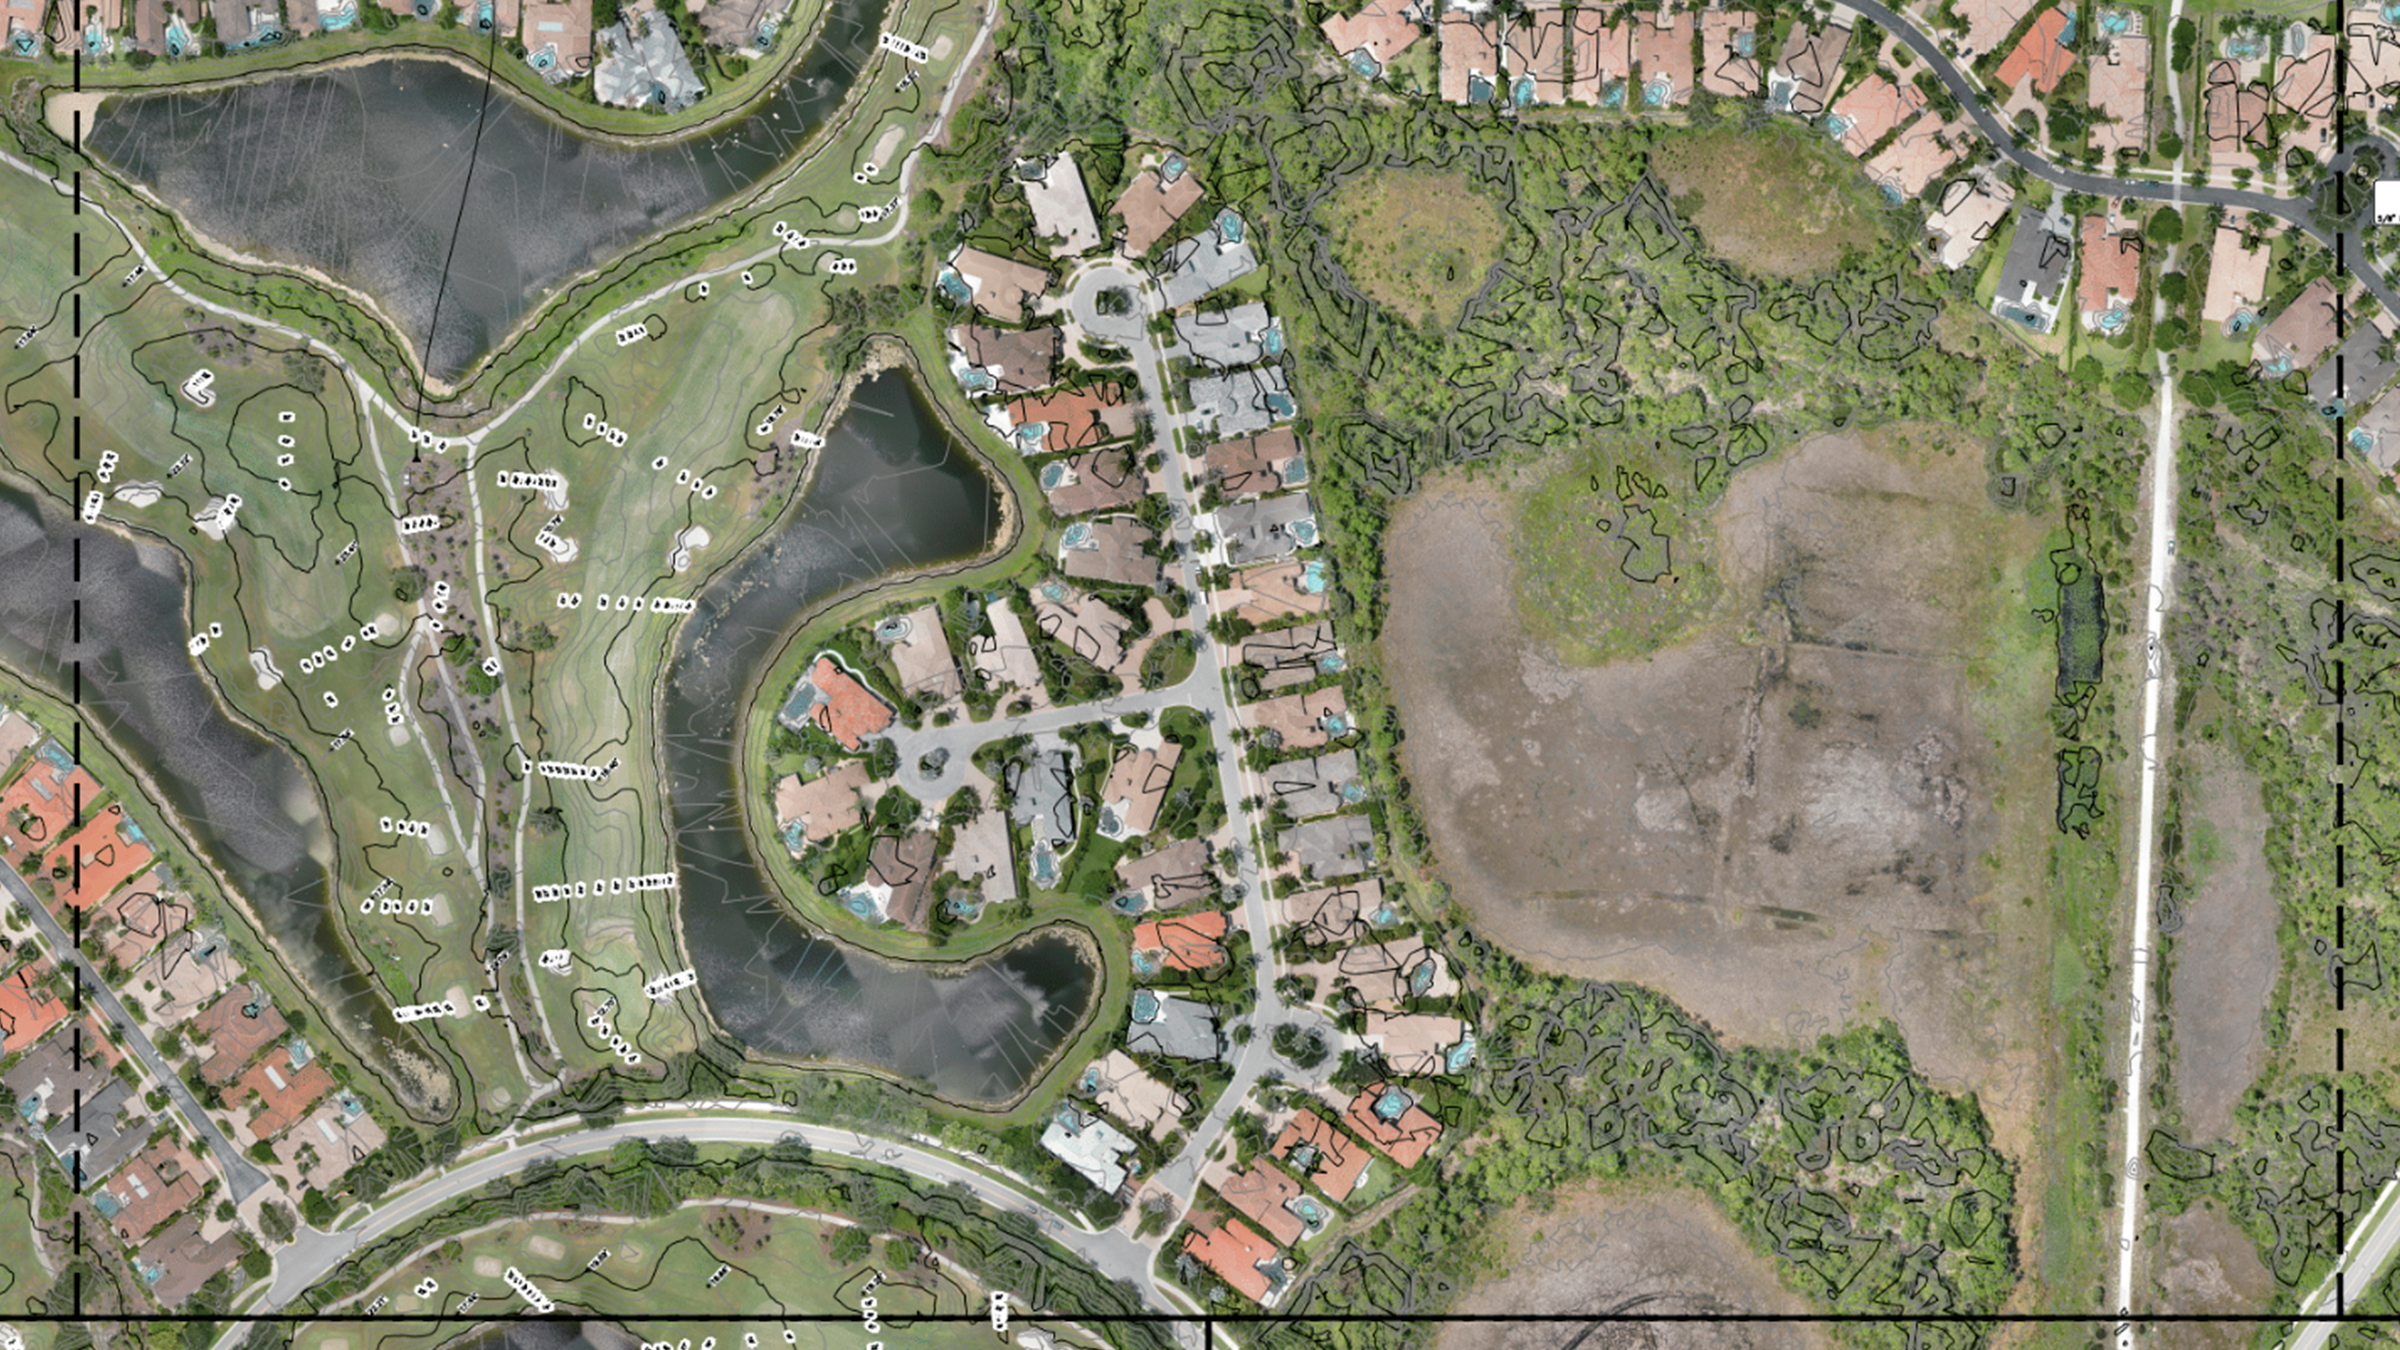
Traditionally, the use of GCPs, while essential to improve accuracy, came with its own set of challenges. Users, whether working with GNSS rover or without, expressed a strong need for a more integrated GCP experience. Previously, the integration of GCPs into your workflow involved a manual, somewhat cumbersome process. After capturing your scene, the next step was to painstakingly mark each GCP in the captured images – a task that could be both time-consuming and, at times, frustrating, especially when working on an iPhone.
What is Tag Detection?
Welcome Tag Detection – a feature meticulously designed to transform this scenario. With Tag Detection, the moment you capture your scene using PIX4Dcatch, a seamless and automated process kicks into gear. The feature intelligently identifies the GCP tags present on the ground and links them to the correct, pre-georeferenced GCPs in your point collection. This integration happens in real-time, during the capture phase itself. As you navigate through the site, you'll witness the magic of Augmented Reality (AR) as each tag is automatically recognized and matched with the corresponding GCP you’ve measured.
This innovative feature not only saves precious time but also significantly reduces the margin of error, predominantly originating from manual input. By automatically marking every visible tag across multiple images, the algorithm ensures precise accuracy in GCP representation. This is a great contrast to manual methods, where user fatigue often leads to fewer marks and potential inaccuracies. With Tag Detection, Pix4D proudly offers a solution that meets user needs and redefines the limits of photogrammetric mapping.
To see Tag Detection in action, we invite you to watch the video below:
How Does Tag Detection Work?
Let’s walk through the steps so you can fully leverage this valuable feature:
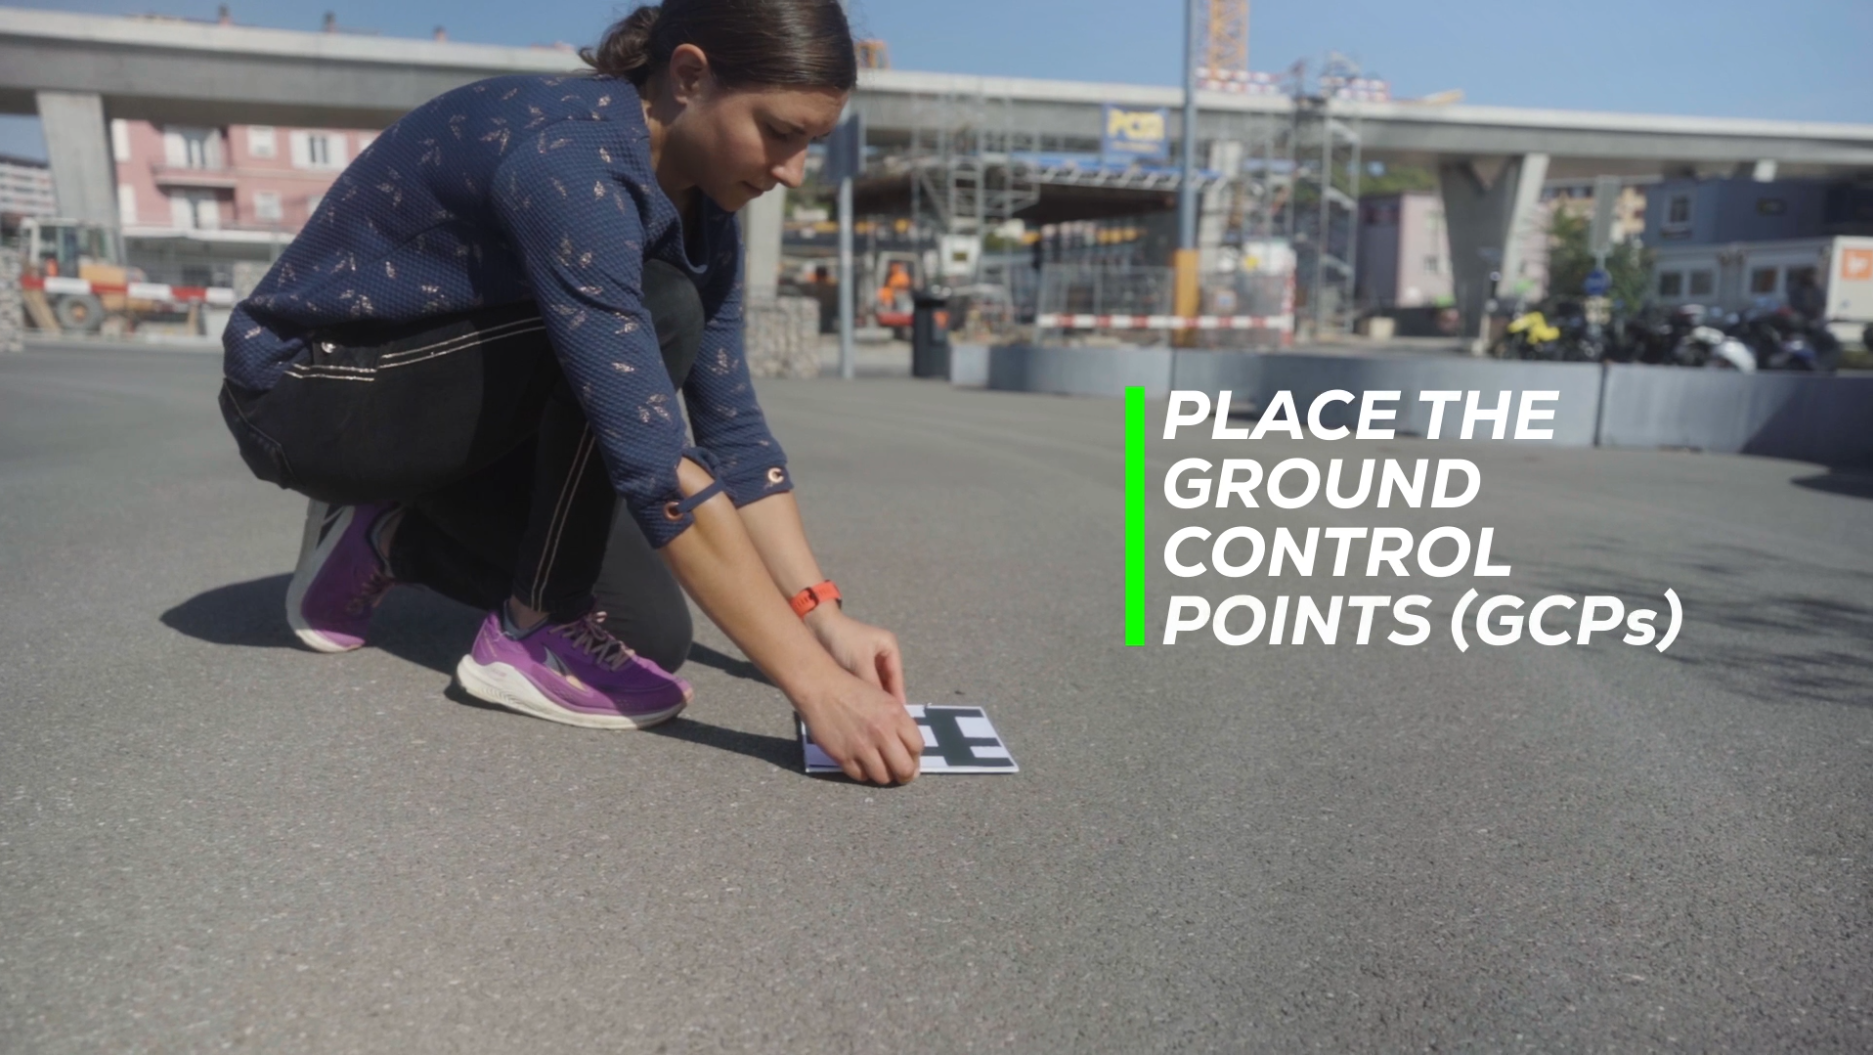
Step 1: Set the scene with Ground Control Points (GCPs)
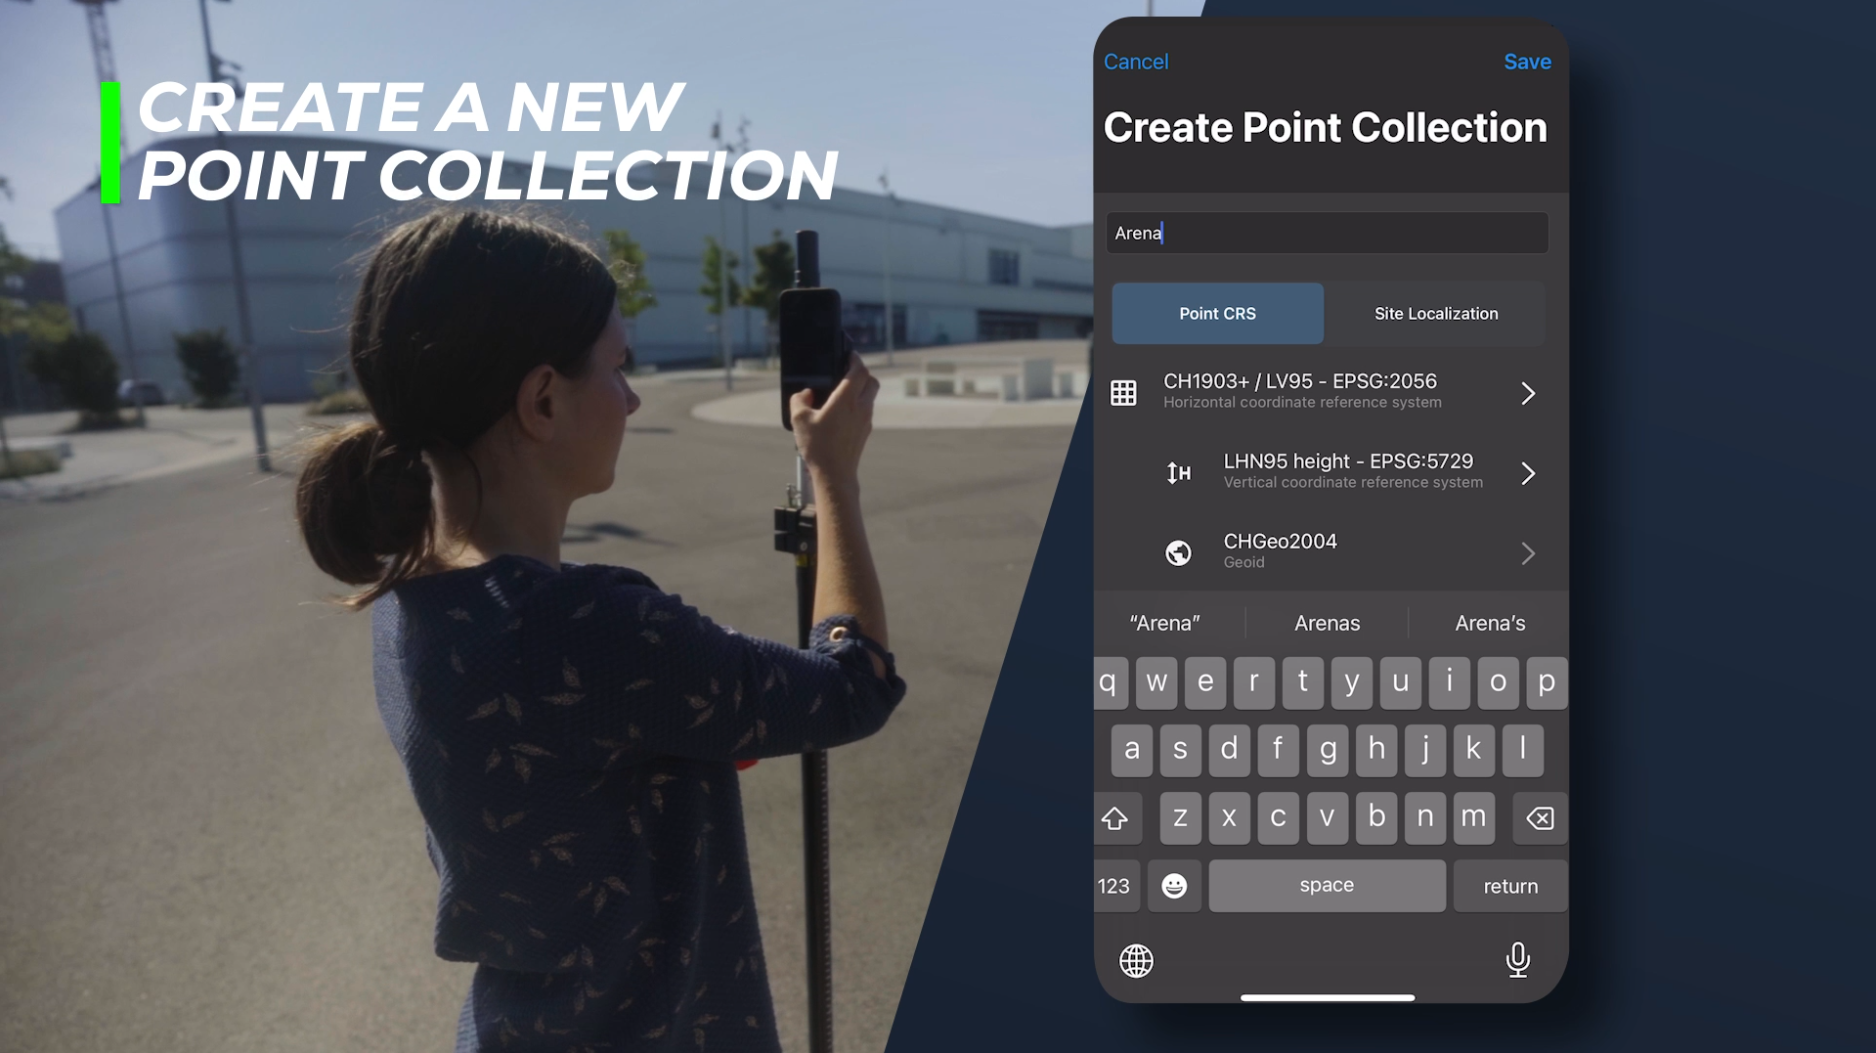
Step 2: Create a new Point Collection
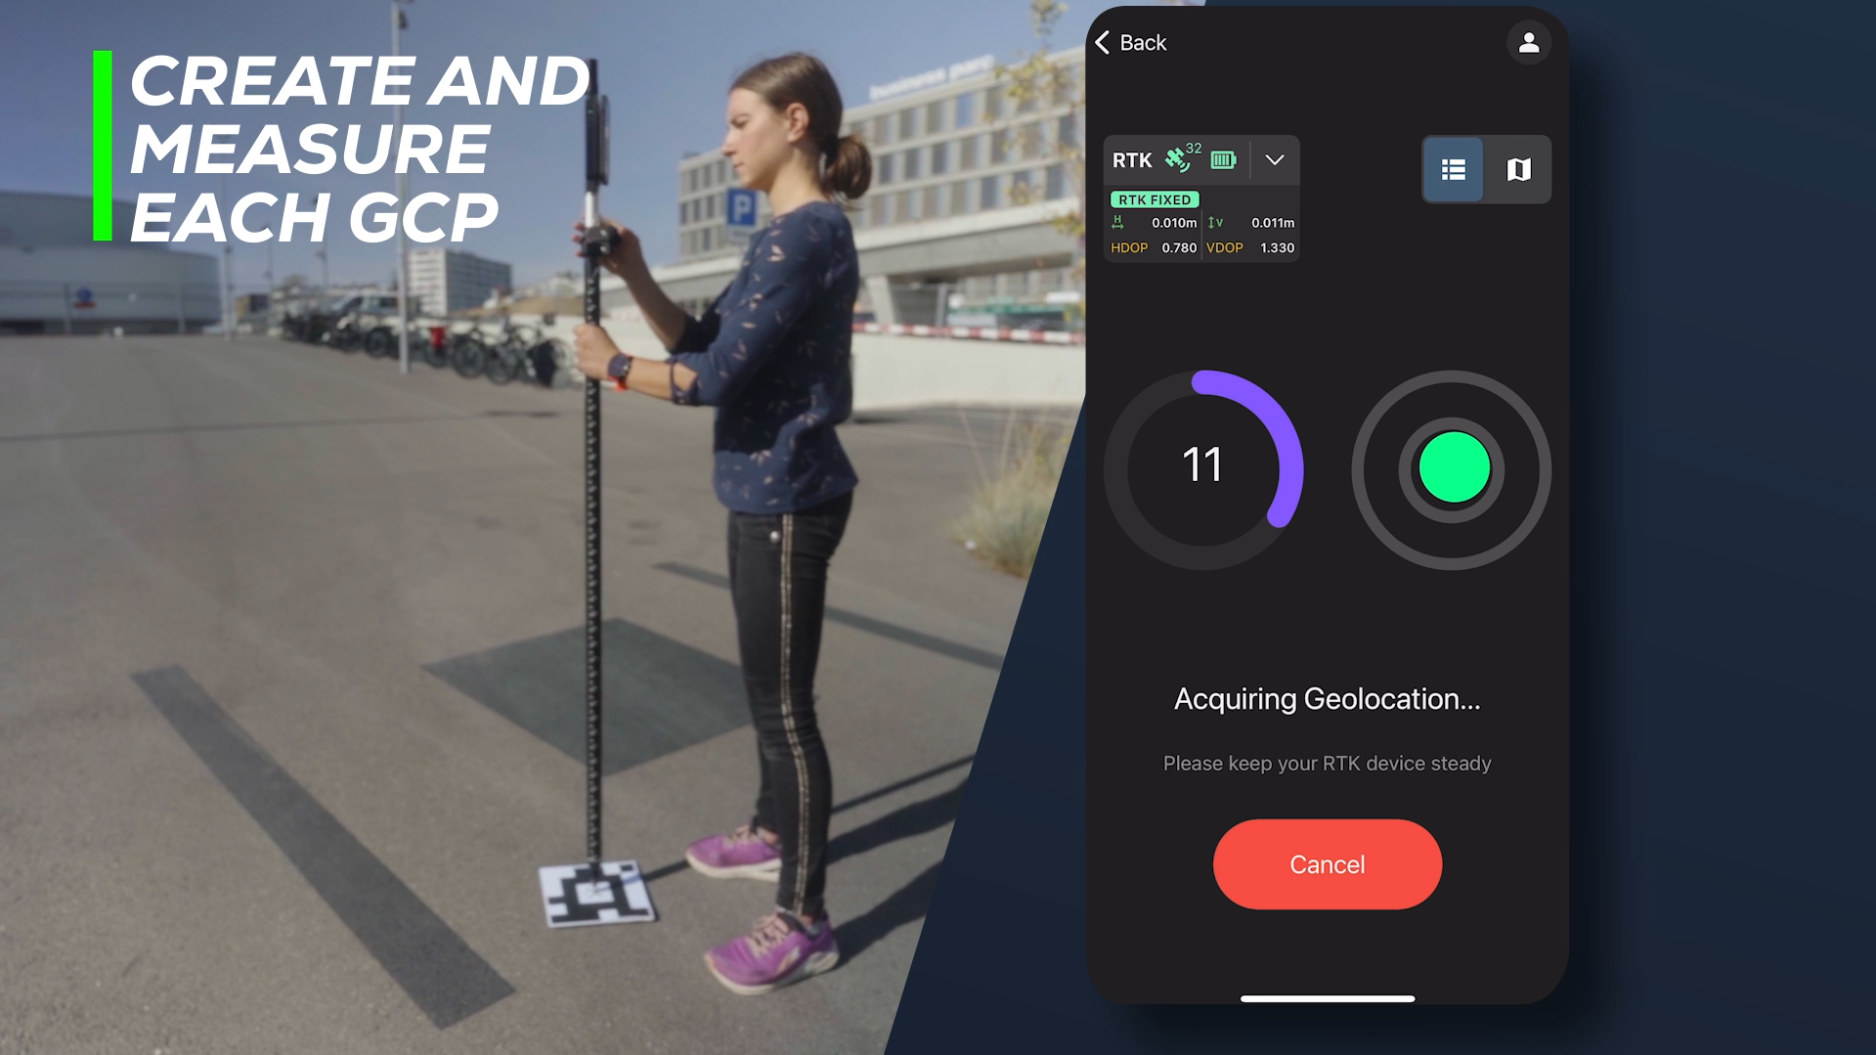
Step 3: Measure and record each GCP
Step 4: Activate Tag Detection

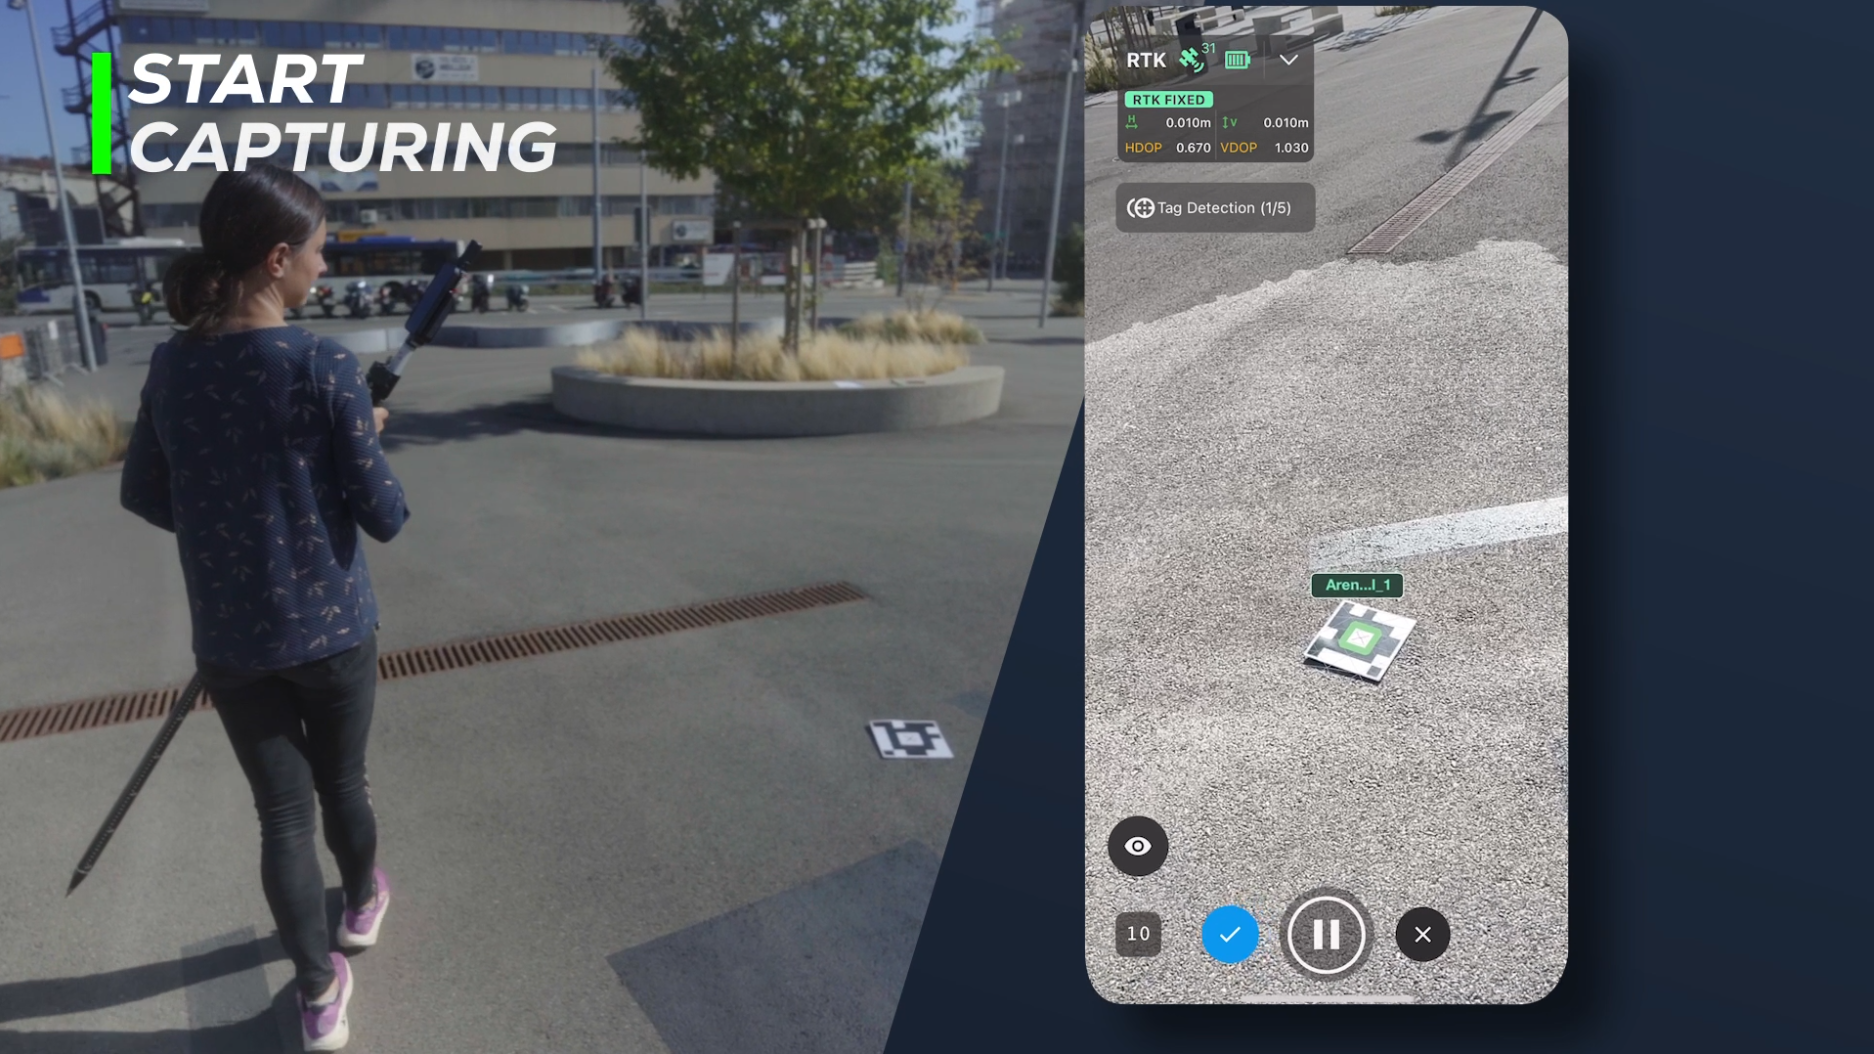
Step 5: Start capturing your scene
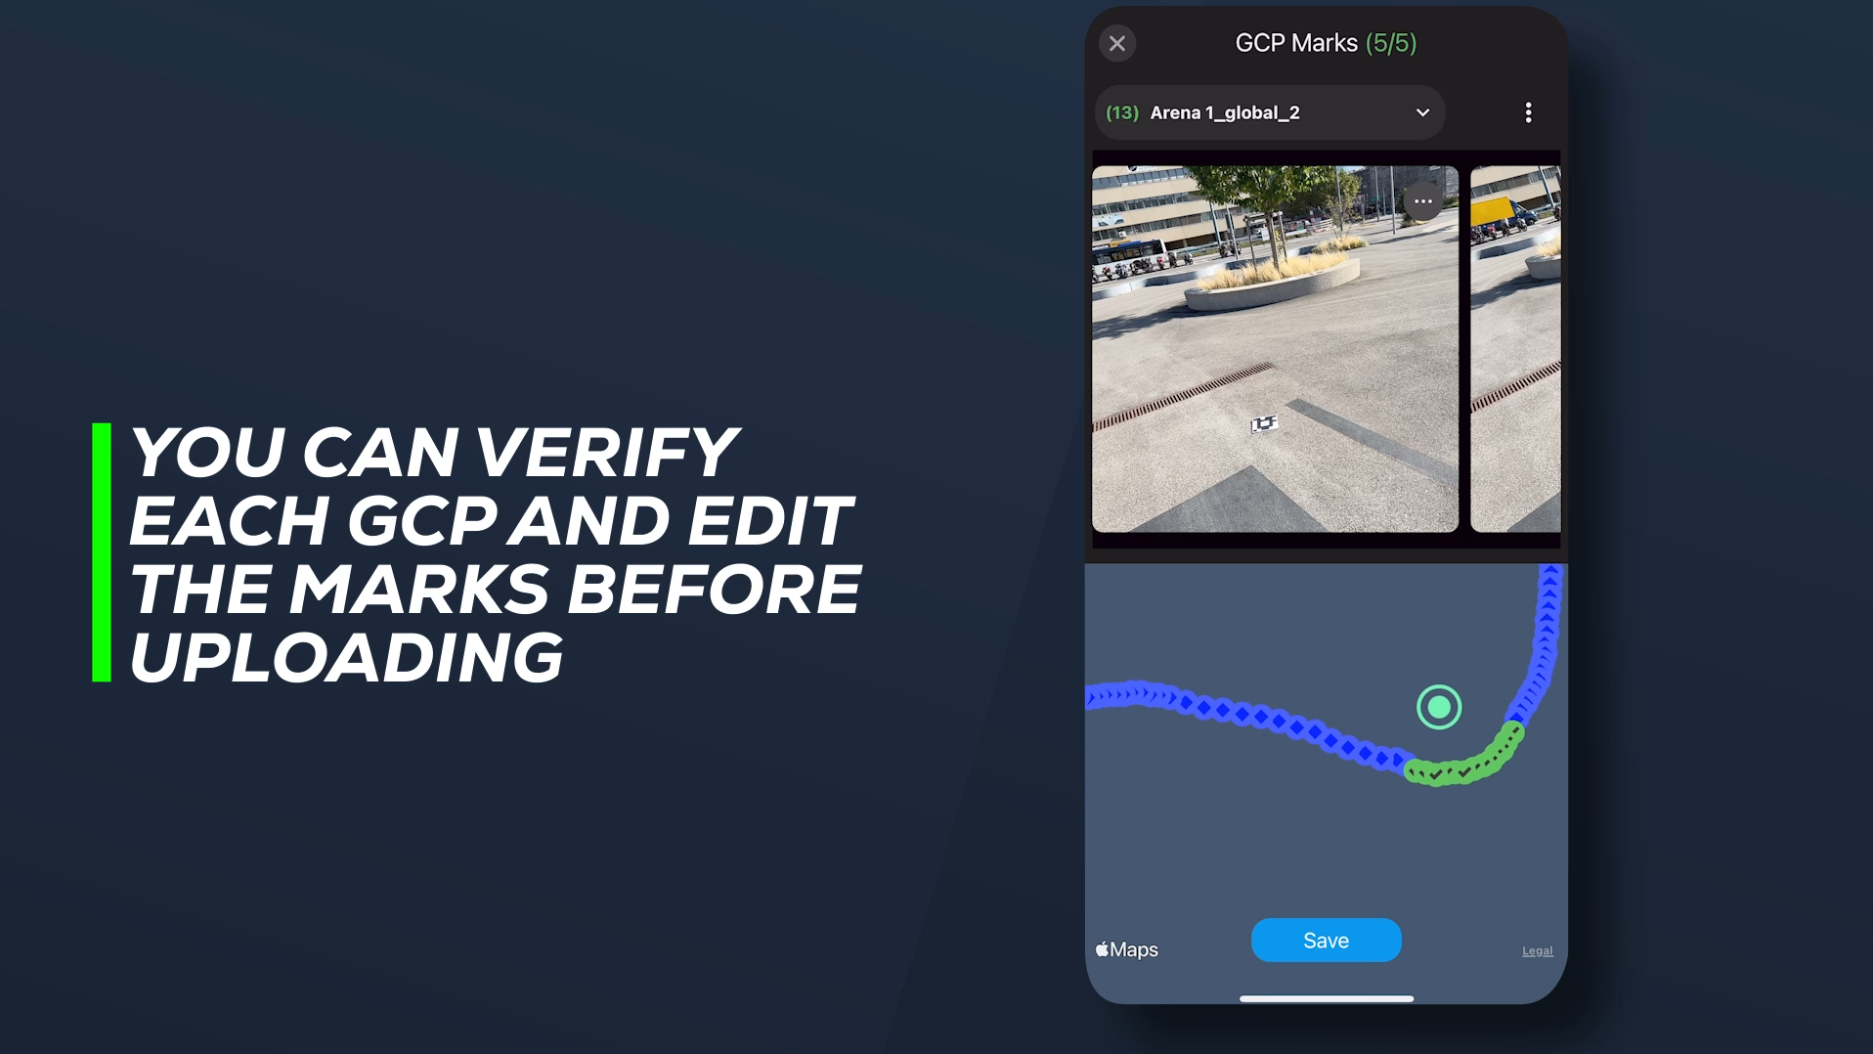
Post-capture: fine-tuning for perfection
Syncing to PIX4Dcloud or export to PIX4Dmatic
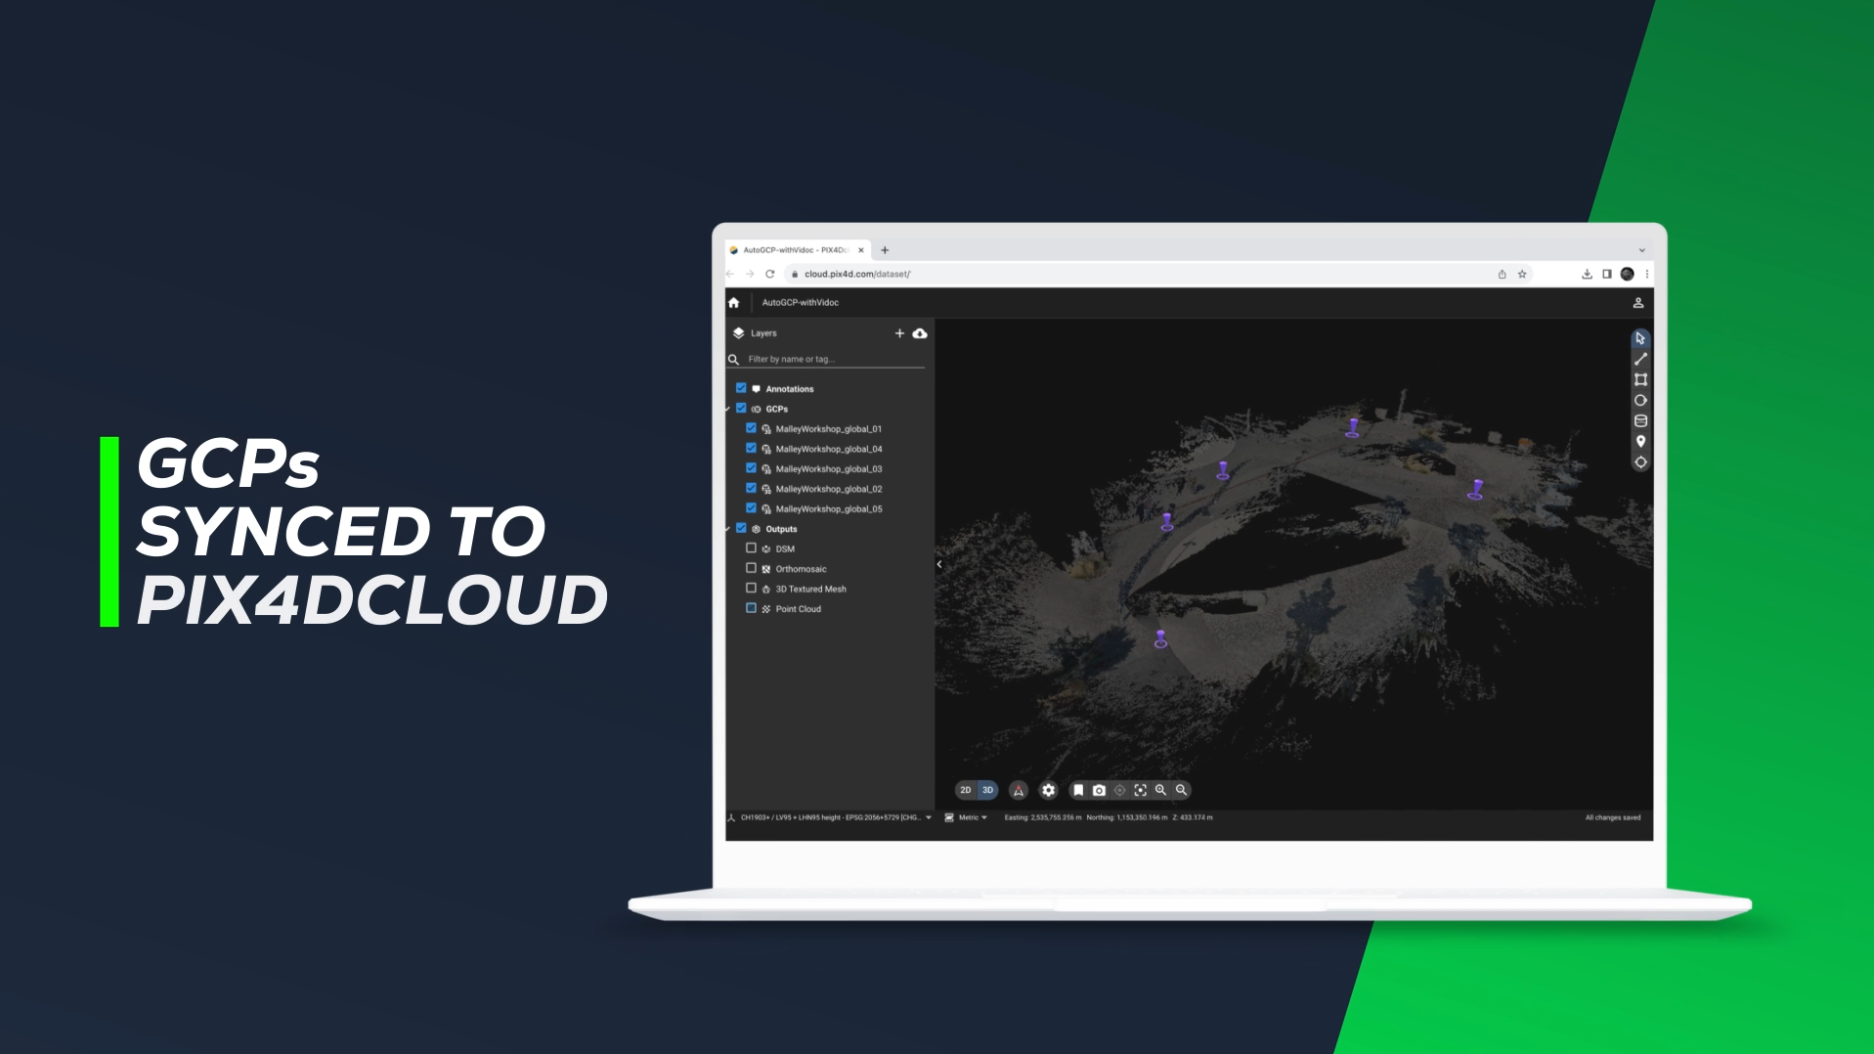
Upload your data directly to PIX4Dcloud for seamless integration. Your GCPs, precisely mapped by the Tag Detection feature, will automatically sync with PIX4Dcloud. View the names and details of each GCP under the 'GCPs' layer, enhancing clarity and control over your project.
Here, you have the option to benefit from Gaussian splatting, which provides a photorealistic and georeferenced output, moreover your 3D mesh and point cloud will also be improved when processed with Gaussian splatting! For more information on requirements and how to utilize this feature, read our dedicated documentation.
You can also export to PIX4Dmatic for further processing and control.
Need more details?
For those who want more in-depth instructions, or need to download the tags (A4/ US Letter) for the Tag Detection feature, a wealth of resources awaits. Visit our comprehensive support document: How to use automatic Tag Detection and manual GCP marking in PIX4Dcatch.